Ethereum Blockchain Guide: How to launch your ERC20 token

Building a successful cryptocurrency brand is every developer's goal. However, the walk towards this goal is not a simple one. Now that you have decided to launch a cryptocurrency project with an Ethereum-based native token, how can you create your ERC-2o token easily?
Understanding ERC-20 tokens
After the launch of Ethereum, the blockchain witnessed explosive adoption, given its ability to enhance the use of blockchain beyond basic cryptocurrency trading as introduced by Bitcoin blockchain.
By allowing developers to create and launch cryptocurrency and blockchain-based projects on blockchain, Ethereum gets the world to witness the innovative tendency of decentralization. However, as adoption continues to grow, the space also witnesses the launch of tokens with different features and functionalities, leaving other developers and market participants with the tedious task of understanding the distinct features of each token and reading specific smart contract codes per token.
To eliminate these discrepancies and introduce a sense of uniformity, the ecosystem introduced ERC-20 as the standard for creating fungible tokens on Ethereum blockchain.

"ERC" stands for Ethereum Request for Comment, and "20" is its proposal identifier. This token creation standard does not only create a blueprint for developers to follow, it also ensures interoperability between tokens and smart contracts while ensuring that the following features define tokens launched in the ecosystem:
- Total Supply: Maximum number of tokens that can be created.
- Balance Of: Retrieves the token balance of a specified address.
- Transfer: Moves tokens from one address to another.
- Approve and Transfer: Enables token holders to allow another address to spend tokens on their behalf.
- Allowance: Checks the remaining tokens an address can spend on behalf of another.
Use Cases of ERC-20 Tokens
ERC-20 tokens are generally used for various utilities in the blockchain ecosystem. These include:
- Decentralized Finance: ERC-20 tokens are used by leading decentralized lending protocols like Uniswap as collateral for loans and general asset trading.
- DAO: A lot of decentralized autonomous organizations rely on ERC-20 as a governance token, given their ability to provide increased stability if well-managed and adopted.
- NFTs and Gaming: The ecosystem governance token Ether ($ETH) remains a leading ERC-20 token adopted by popular NFT marketplaces like OpenSea for NFT trading. Also, many blockchain-based games use ERC-20 tokens for in-game assets.
- Fundraising and ICOs: Initial Coin Offerings (ICOs) and token sales use ERC-20 tokens to raise funds for new blockchain projects. Investors are required to purchase new tokens with the ERC-20 token to get ownership or utility in the project.
- Cross-Chain Bridges: ERC-20 tokens also fuel cross-chain solutions, enabling interoperability between Ethereum and other blockchains, such as Binance Smart Chain and Polygon.
Examples of ERC-20 tokens: MakerDAO ($MKR), ChainLink ($LINK),
What you need to create your own ERC-20 token
- Ethereum Wallet: Use MetaMask, Trust Wallet, or any Ethereum-compatible wallet.
- Ethereum Test Network: Use a testnet like Rinkeby, Goerli, or Sepolia before deploying to the mainnet.
- A web browser: Download and install Chrome on your PC
Smart Contract Development Tools: Remix IDE, Hardhat, or Truffle. - Programming Language: Solidity for writing smart contracts.
ETH for Gas Fees: Required for deploying and interacting with the contract. - Reliable RPC Provider: Get free RPC from Chainnodes for stable and fast interactions with the Ethereum blockchain.
Creating and deploying your ERC-20 token
1. Install and fund wallet.
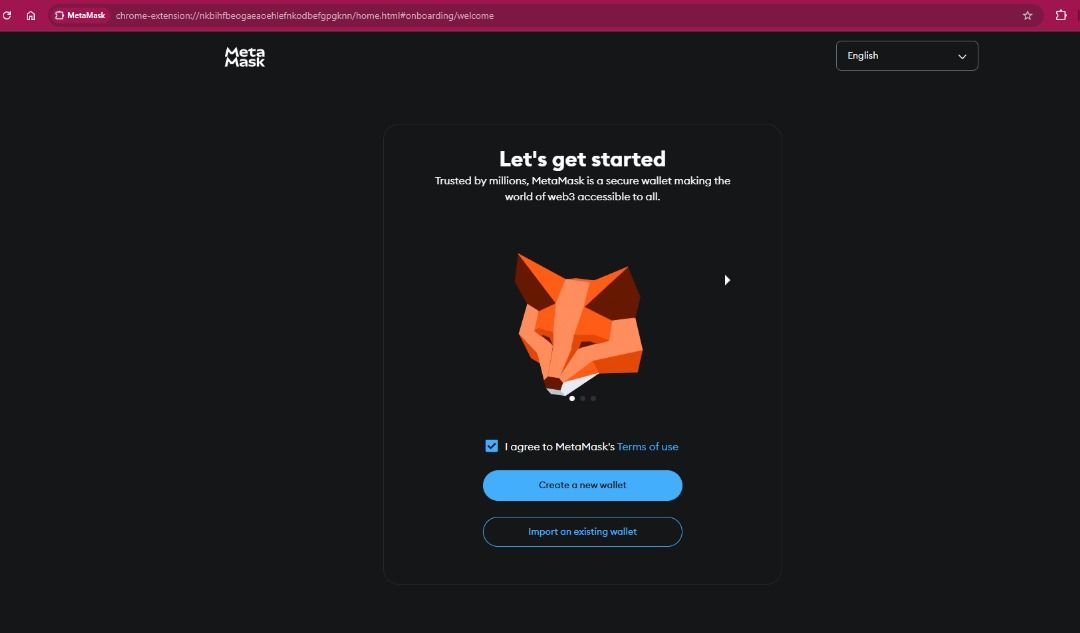
- First, install an ERC-20 token wallet. For this article, we are working with MetaMask. Head to your Chrome browser and search for "MetaMask extension for Chrome."
- Download the extension and click on "Create Wallet". Follow the simple steps from here to generate security phrases. Write out phrases as displayed and store securely.
- Now, transfer Ether ($ETH) to your wallet to cover deployment fees after creating your token. You will have enough tokens to prevent failure.
2. Write your ERC-20 smart contract code
We will create our ERC-20 token using OpenZeppelin's standard library, given its reusable features. It is essential to note that token smart contracts include additional functionalities depending on your project goal; however, for the purpose of this article, we are retaining custom names, minting, burning, and customizing supply and decimals.
// SPDX-License-Identifier: MIT
pragma solidity ^0.8.20;
import "@openzeppelin/contracts/token/ERC20/ERC20.sol";
import "@openzeppelin/contracts/access/Ownable.sol";
contract MyToken is ERC20, Ownable {
uint8 private _decimals;
constructor(
string memory name_,
string memory symbol_,
uint256 initialSupply_,
uint8 decimals_
) ERC20(name_, symbol_) {
_decimals = decimals_;
_mint(msg.sender, initialSupply_ * 10 ** decimals_);
}
function decimals() public view virtual override returns (uint8) {
return _decimals;
}
/// @notice Mint new tokens (only owner)
function mint(address to, uint256 amount) external onlyOwner {
_mint(to, amount * 10 ** _decimals);
}
/// @notice Burn tokens from sender
function burn(uint256 amount) external {
_burn(msg.sender, amount * 10 ** _decimals);
}
/// @notice Burn tokens from any address (requires allowance)
function burnFrom(address account, uint256 amount) external {
_spendAllowance(account, msg.sender, amount * 10 ** _decimals);
_burn(account, amount * 10 ** _decimals);
}
}
3. Deploy your token using Hardhat
Install Hardhat: npm install --save-dev hardhat
Create a Hardhat project: npx hardhat
Install OpenZeppelin dependencies: npm install @openzeppelin/contracts
Write the contract inside contracts/MyToken.sol.
4. Using Chainnodes RPC and Dedicated Nodes for Better Performance
Using a dedicated RPC node improves transaction speed, enhances security, and provides an uninterrupted blockchain connection. To get your free RPC, sign up on Chainnodes and get your dedicated Ethereum RPC endpoint. Update your Hardhat configuration afterwards (hardhat.config.js) with the Chainnodes RPC URL:
module.exports = {
networks: {
mainnet: {
url: "https://your-chainnodes-rpc-url",
accounts: ["0xYourPrivateKey"]
},
goerli: {
url: "https://your-chainnodes-rpc-url",
accounts: ["0xYourPrivateKey"]
}
},
};
5. Deploy Your Token to Testnet
Deploying your token on a testnet ensures that you can connect any of the available testnet to MetaMask to confirm that your token was successfully created and deployed in the steps above. For testnet, opt for Sepolia given its EVM-compatibility features and wide usage.
In your hardhat.config.js, set up Sepolia:
js
sepolia: {
url: `https://sepolia.infura.io/v3/YOUR_INFURA_PROJECT_ID`,
accounts: [`0x${YOUR_PRIVATE_KEY}`],
}
Then, deploy your contract using a script or from the Hardhat console.
6. Find the token contract address
After deploying, note your token's contract address from the deployment logs and add the token to MetaMask following the steps below
- Open MetaMask and switch to the correct testnet (e.g., Sepolia).
- Scroll down and click "Import tokens".
- Paste your contract address.
- MetaMask will auto-fill the symbol and decimals if your contract supports them.
Your token is now ready in MetaMask!